J
To recolour a colour cylinder to another, very different colour, it is recommended to deep clean the drum prior to the recolouring process and the reprogramming of the EEPROM. This way, colour pigments can be saved when the new colour cartridge is inserted and the drum is wetted with the new colour. Before you start, make sure that the correct tools are available and that the work environment is suitable for dis-
assembling the colour drum. Cleaning is at your own risk.
 1
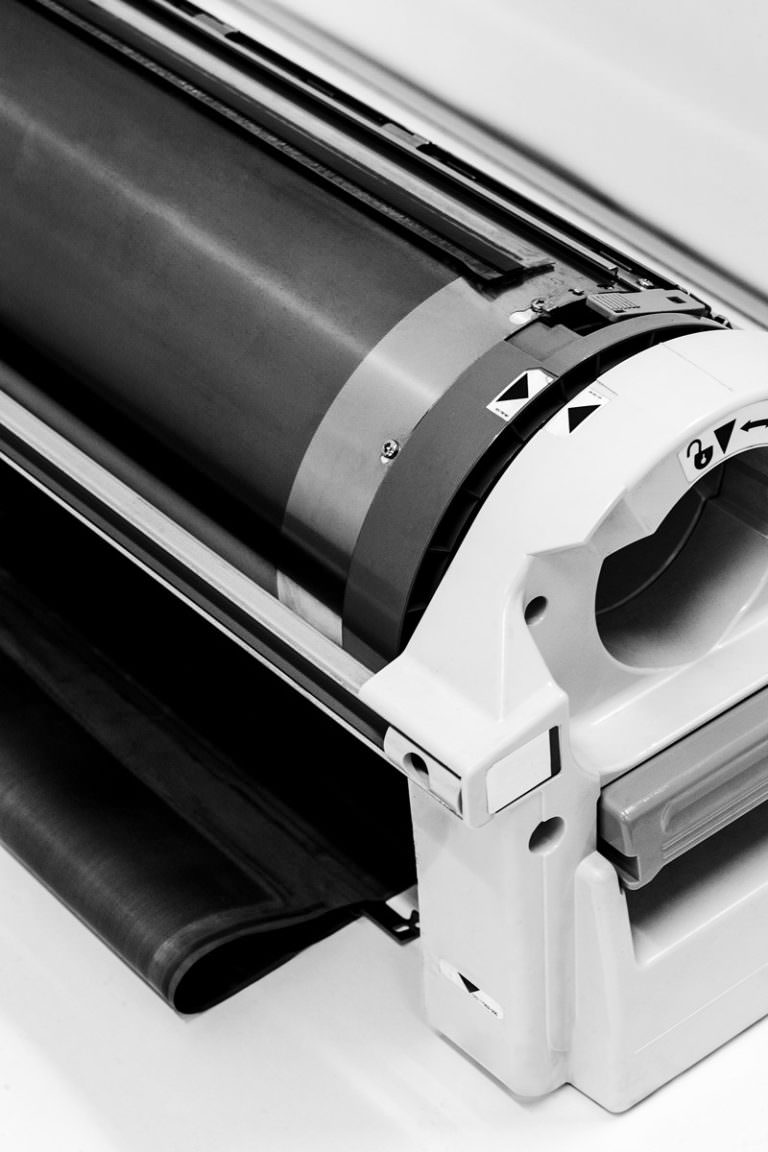
A depth-cleaned drum of the RISO MZ 770. The screen is removed to show the composition of the two layers of the colour drum
To clean a colour cylinder, the following resources and tools should be available:
- 1
- A washable tarp / pad, at least 1 sqm in size, on which cleaning will take place
- 2
- Adhesive tape for fixing the tarp
- 3
- A can of WD-40
- 4
- Several paper towels (pulp)
- 5
- A crosstip screwdriver with a size 2.5 bit (Philips)
- 6
- A collection container for collecting small parts
- 7
- The colour cylinder to be cleaned
- 8
- A wedge to locate the colour cylinder horizontally, about 10 × 10 × 7 cm in size
The main component of the cleaning method proposed here is the penetrating oil WD-40. WD, an acronym for Water Displacement, was developed in 1953 for water displacement and as protection from corrosion. The physical properties ensure that it can penetrate very fine gaps, where it can subvert and remove oxidation or dirt, for example, due to its qualities as a contact spray. As the oily RISO colour does not merge sufficiently with the metal screen, the penetrating oil can enter. The subverted material then loses its adhesiveness to the substrate and can therefore be removed very easily. Another suggested method of cleaning is to clean the drum screen and the drum body with isopropyl alcohol. It should be mentioned that wearing work clothes is not strictly necessary but recommended. Due to the high colour content on the colour drum, it loses a great deal of colour when it is cleaned. Although it is usually very easy to wash off, that is not always the case with all fabrics. Besides, cleaning should take place in an environment that is not sensitive to colour.
For cleaning, the following steps are to be taken:
- 1
- Place tarp and fix it with tape to ensure maximum grip.
- 2
- Place cylinder on the tarp and secure the base under the drum to stabilise it
- 3
- If there is still a master on the drum, carefully pull it off (by turning the lock and slowly rotating the print drum)
- 4
- Remove screws securing the screen and collect them in the container
- 5
- Move the cylinder aside and spread out the paper tissues
- 6
- Lay out the screen, spray it with WD-40 and let it soak in for a little while
- 7
- Use paper towels to wipe up the mix of WD-40 and colour
- 8
- Put the screen aside and get new tissues. Clean the tarp if necessary and repeat the cleaning procedure until the desired degree of cleanliness is achieved. Note: Heavily soiled screens can also be soaked in WD-40
- 9
- Allow the screen to dry and remove the screws on the cylinder body and keep them safe in the container
- 10
- Remove the body’s metal screen from the colour drum and put it on spread out paper towels
- 11
- Spray metal screen with WD-40 and let it sit for a bit
- 12
- Clean the screen using paper towels and repeat the process until the metal screen is as clean as you want it to. Note: If the plastic rail attached to the metal screen falls off after applying the WD-40, it should be reattached with a thin strip of double-sided tape after drying the screen
- 13
- Let the screen dry
- 14
- Re-attach metal screen – Note: The two rotating sides of the cylinder must be aligned to each other in the right way. It is advisable to start with the backside of the cylinder and then align the drum accordingly
- 15
- Attach the screen again
- 16
- Tighten all screws
- 17
- Reinsert the print drum
When the drum is reassembled, a few test prints should be made before the drum is used again for production printing. Due to the greasy substance of the WD-40, the first prints will be very light to not visible at all, gradually the print image of the drum should become stronger.

